Wingubox Expense Claims

Configure your expense claims settings
This can be done by administrator with access rights to Wingubox Payroll.
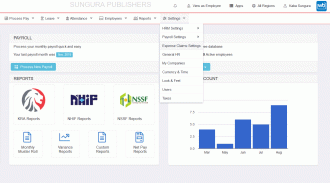
On the menu, go to “Settings” => ”Expense Claims Settings”
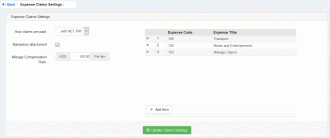
Here you can set up your expense claims and configure your expense chart of accounts.
If you are already using Wingubox Commerce for your accounting, the system will pull in needed chart of accounts for you.
Expense claims can be bundled up with NET PAY or paid out separately. One can also configure mileage compensation rate.
Below is a sample configuration.
Configure expense claims approval
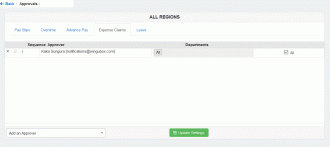
This can be done by going to “Settings”=>”Payroll Settings”=>”Approvals”
Select the “Expense Claims” tab
Add the users to approve and order them according to your organization’s approval workflow policy.
Click “update” button when done
Applying for Expense Claims
Once configuration is done and access granted on Employee self-service, users can now apply for expense claims. This can be accessed on Employee Self-service (ESS) portal under “Applications”
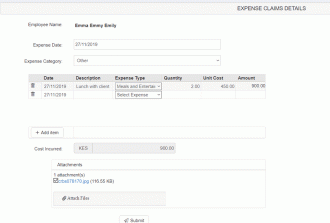
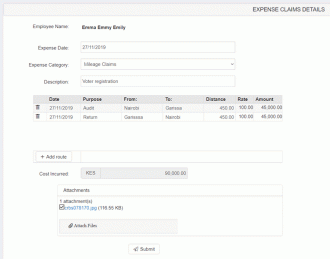
Employee will be presented with expense claims application form which they can fill in with necessary details and upload supporting documents. If applying via phone, an attachment can be uploaded via smart phone camera photo.
Expense claims on Wingubox are broadly divided into two main categories:
- Mileage expense claims - give functionality to enter origin, destination and distance
- Other expense claims - allows users to enter claim title, quantity and price
Once form is filled and submitted, approving user will be notified via email of pending approval tasks.
Approved expense claims are then available for payment either on their own or bundled up with payroll NET PAY.
Expense Claims General Ledger
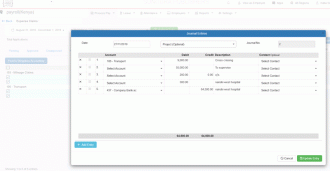
Paid out expense claims can then be exported to general ledger for accounts bookkeeping. Wingubox generates for you a detailed expense claims general ledger automatically. If using Wingubox Commerce for your accounting, export is simplified by doing it right on the system. If using 3rd party accounting software, one can always export CSV or EXCEL format files.
Latest posts

